

In a season often filled with glittering lights and bold colors, there’s a unique and quiet magic in bringing the outdoors in. Imagine sending a holiday greeting that feels less like a mass-produced card and more like a captured moment of winter’s natural grace. This year, trade the foil and sparkle for the delicate, authentic beauty of pressed botanicals. Creating your own botanical Christmas cards is a thoughtful way to connect with the season, slow down, and offer a truly personal touch that resonates long after the holidays have passed.
These cards are more than just paper and ink; they are tiny works of art, infused with the serene spirit of a winter garden. It’s a craft that feels both timeless and perfectly suited for our modern desire for authenticity.
The Timeless Appeal of Botanical Greetings
Long before glossy photo cards became the norm, people shared greetings decorated with natural elements. The Victorian era, with its fascination with floriography (the language of flowers), saw pressed botanicals flourish as a means of sentimental expression. Today, creating pressed flower cards taps into that same romantic tradition, blending it with a clean, contemporary aesthetic.
Each card becomes a one-of-a-kind piece. A delicate fern frond, a sprig of rosemary, or a cluster of winter pansies tells a story of a walk in the woods or a moment of quiet reflection in the garden. For the person who receives it, it’s an experience—a tangible connection to nature and a beautiful reminder of the care you put into creating it. These natural holiday cards stand out, offering a breath of fresh air amidst the holiday hustle.

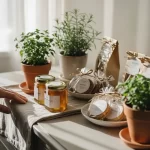
Gathering Your Botanical Treasures
The first step in this beautiful process is to forage for your materials, turning a simple walk into a creative scavenger hunt. You’re looking for specimens that will not only press well but also evoke a festive, seasonal feeling.
Here are a few ideas for what to gather:
- Lacy Ferns: Their intricate patterns are stunning on their own.
- Evergreen Sprigs: Look for flat, delicate pieces of cedar, fir, or arborvitae.
- Winter Florals: Pansies and violas press beautifully, retaining their rich color.
- Herbs and Leaves: Silver-dollar eucalyptus, rosemary, and sage offer beautiful shapes and a subtle fragrance.
- Colorful Petals: The deep red of a poinsettia bract or the rich tones of winter-blooming heather can add a perfect pop of color.
When foraging, choose plants that are dry and in pristine condition. Gently pat them with a paper towel if there’s any morning dew. This is the foundation of your botanical holiday crafts.

Mastering the Art of Pressing
Once you’ve collected your botanical specimens, the next step is to preserve their shape and color. This is where patience and a gentle hand come into play. There are a few reliable methods to choose from, each with its own benefits.
1. The Classic Book-Press Method
This is the most traditional and accessible technique. Place your botanicals between two sheets of absorbent paper (parchment or coffee filters work well) and tuck them inside the pages of a heavy book. Stack a few more books on top for added weight and wait 2-4 weeks. The slow, steady pressure yields beautifully flat and detailed results.
2. Using a Wooden Flower Press
For more frequent crafters, a dedicated flower press is a wonderful tool. It consists of layers of wood, cardboard, and absorbent paper, all held together by screws you can tighten. This provides more even pressure than a book, which is ideal for preserving more delicate flowers.
3. The Quick Microwave Method
If you’re short on time, a microwave press can preserve flowers in minutes. You’ll sandwich your flowers between paper and ceramic tiles, then microwave in short, 30-second intervals. This method is fantastic for retaining vibrant color, but it requires a bit of practice to get the timing just right without overheating the plants.

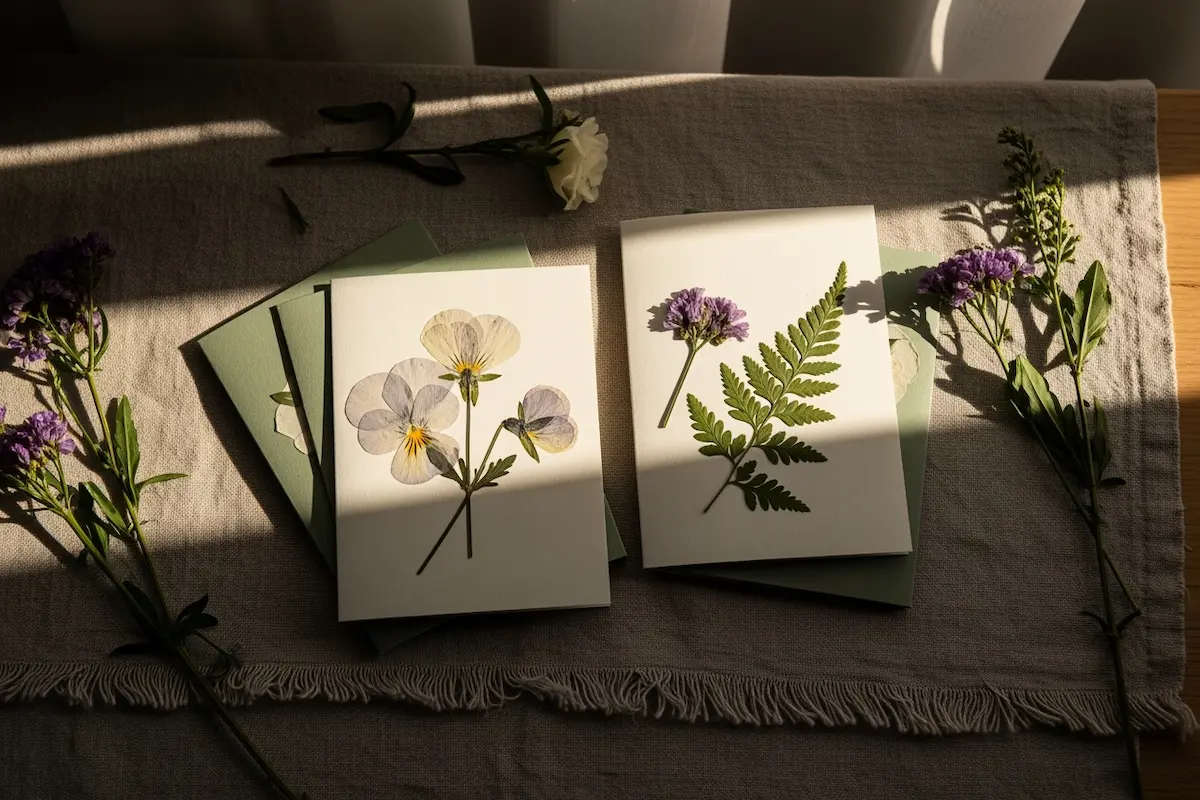
Designing Your Botanical Holiday Cards
With a collection of beautifully pressed botanicals, you’re ready for the most creative part. This is where your natural materials transform into elegant botanical greeting cards.
Before you start, consider these design elements.
• Choose Your Canvas
The paper you choose is the backdrop for your natural art. Opt for high-quality, heavy cardstock in neutral shades like warm white, cream, or a rustic kraft paper. A deckle edge adds an especially lovely, old-world touch.
• Create a Composition
Lay out your pressed flowers on the blank card before applying any glue. Play with different arrangements. You could create a minimalist design with a single, elegant fern, craft a tiny wreath from small leaves, or arrange petals in a cascading pattern down the side. This is your chance to let your inner artist shine.
• The Art of Adhesion
To attach your delicate botanicals, you’ll need a light touch. Use a small paintbrush to apply a thin layer of clear-drying craft glue to the back of each piece. A pair of tweezers is invaluable for precise placement. The goal is to secure the plant without any visible adhesive, creating a seamless, professional look for your plant-based Christmas cards.

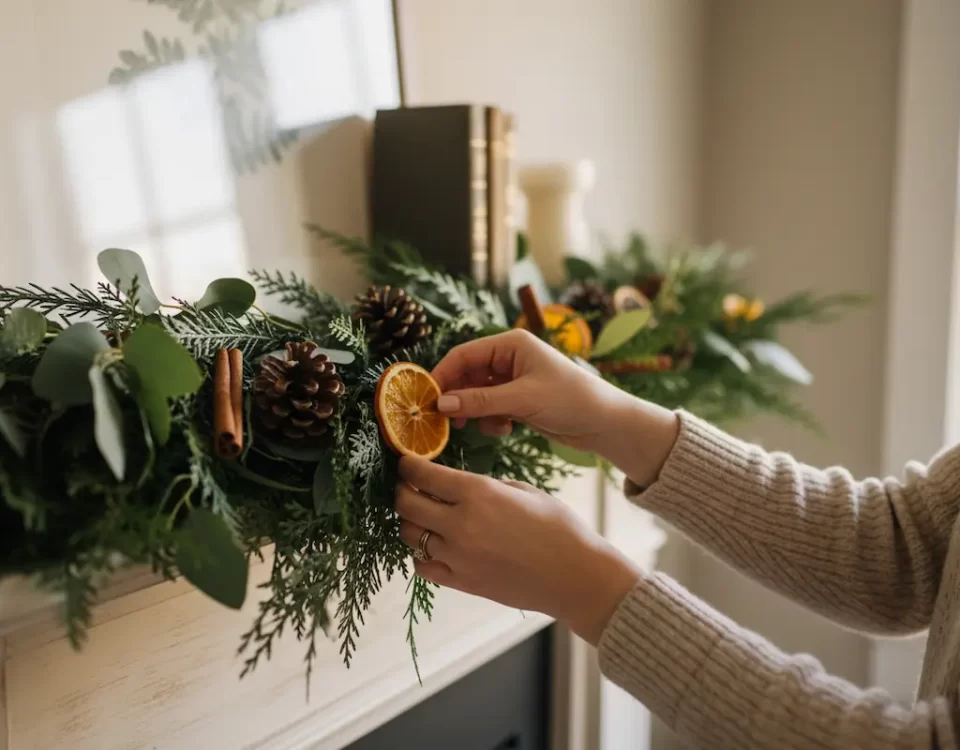
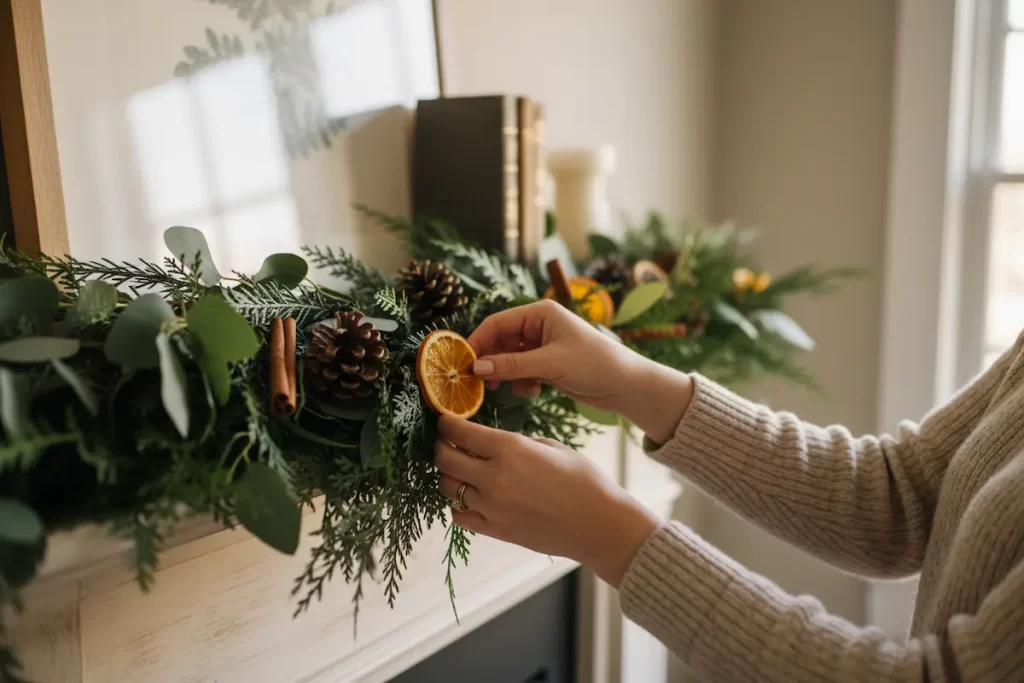
Adding the Final Flourishes
A few simple, final touches can elevate your flower Christmas cards from lovely to truly unforgettable. A fine-tipped pen with gold or copper ink can be used to add a subtle border, a tiny star, or to write a simple “Peace” or “Joy” beneath your design.
Consider the entire package. Tie a thin piece of natural twine or a velvet ribbon around your finished card, or line your envelope with a complementary patterned paper. These small details show an extra layer of thought and care, turning your greeting into a complete and cherished gift.
This holiday season, let your greetings be a quiet reflection of nature’s enduring artistry. The time spent creating these small treasures is a gift in itself, resulting in a heartfelt message that shares beauty, intention, and a genuine connection with the people you care about most.


